First of all, choose your mould and items that you wish to embed. Most items can be embedded within resin, however some items need a little work before they can be mixed with resin. Paper needs to be sealed with either a varnish or pva glue. To be extra safe I scan paper into my computer and then print it onto glossy photo paper. This means I can keep the orignal safe and once dry can be used without sealing! Flowers and insects need to be dried out before adding as resin will not mix with any moisture. Candy sprinkles and hundreds and thousands are really popular within resin work at the moment, and look really effective!
Make sure the room is well ventilated and that you've covered your workspace with newspaper!
Wearing rubber gloves and a face mask, make the resin following the manufacturer’s instructions. Pour the resin from as low as possible and stir slowly to minimise any bubbles!

Pour a thin layer of resin into the mould. Depending on the mould you may want to coat it with a thin layer of vaseline to act as a mould release! I find that using a plastic spoon will help ensure you don’t over fill the mould and give you more control over the resin. Leave to set for 8 hours.

When the resin has partially set, position the item you want to embed facedown, being careful not to trap air between the item and the resin.

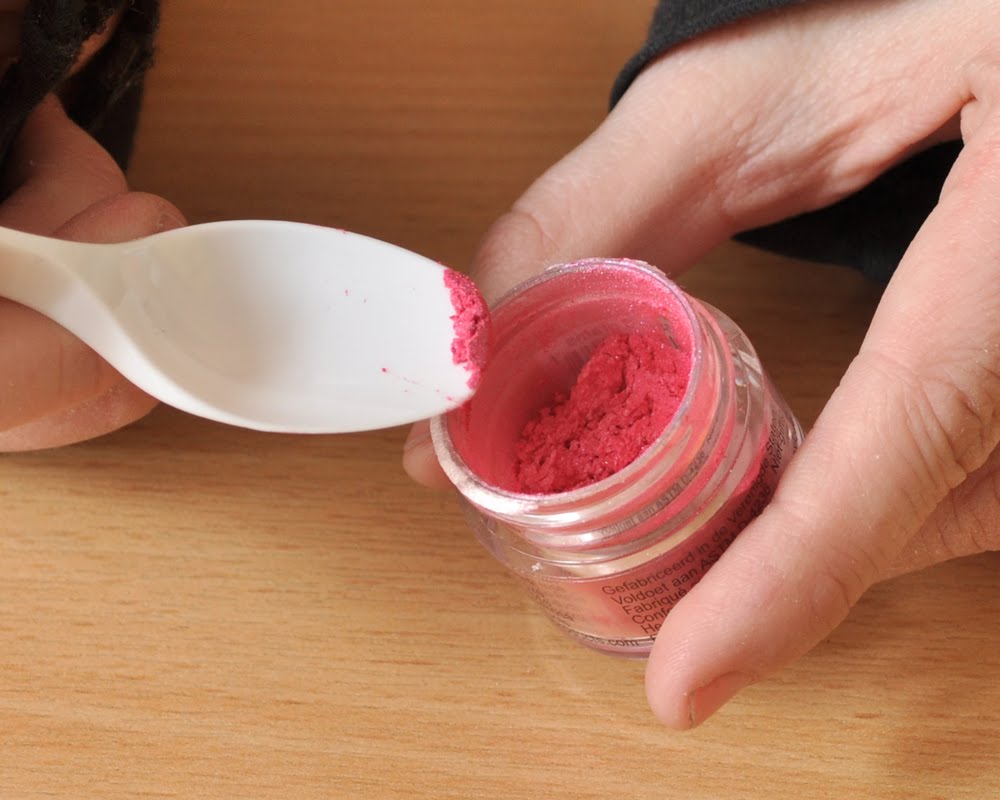
Make a second batch of resin and add a small pinch of pigment dye. More dye can be added for bolder shades. Start with a really small amount, the pigment goes far and it is much easier to add more then take away! The pigments also blend together well. I used Flamingo Pink (which is a really strong pink) and Pearl White to create this colour, so as you can see, the shades you can create are endless!
Slowly pour the mixture into the mould and leave to dry.

When fully cured, pop the resin out of the mould and sand any rough edges.

Secure the pendant in a G clamp, protecting the pendant either side with tissue. Using a hand drill, drill a hole for the bail. If you've created a shape with a domed side, like the heart, drill it flat side up to make it easier, otherwise the drill could slip and scratch the pendant!

Add a bail to the pendant and add to chain/thread/whatever takes your fancy!

And there you go! I'd love to see what you make, so if you do decide to have a go, please add your photos to our facebook page or flickr group!

Jess
xx
I love what you have done here!
ReplyDeleteI just need to buy the resin and pigments now! I can see lots of possibilities with this - thank you!
Thank you so much!
ReplyDeleteI got everything (except for the mould) from here;
http://www.mailorder-beads.co.uk/shop/resin/
I'd love to see what you make! :)
xx