Showing posts with label tutorial. Show all posts

Thursday, 1 September 2011

Polymer Clay Tutorial - Spiral Cane

We’re excited to be stocking a new range of Premo! polymer clay, therefore we thought we’d show you how to make a basic cane which can be sliced in order to decorate beads. The spiral cane is a simple cane that is ideal for beginners and for this you will need the following materials:

Tissue blades
2 packs of Sculpey/Premo! clay in contrasting colours
Acrylic Rolling Pin

1. Always condition the clay well before use, this ensures that it is soft and not too brittle, making it easier to work with. Do this by working the clay in your hands; the warmth of your hands combined with rolling and folding makes it much more pliable. Roll out two sheets of clay approximately 1-2mm thick. It helps if these are rolled so that the sheets are long and narrow and each should be rolled to approximately the same size.

2. Place one sheet on top of the other and gently roll over to remove any trapped air and ensure that the two sheets are adhered together.

3. Before you begin rolling cut one edge straight and trim down the sides slightly if needed. Roll tightly to avoid trapping any air.


4. Continue rolling, keeping the edges straight. Just before you roll the last part cut the edge straight. Use your fingers and gently roll to make the seam more secure.


5. Roll the cane upon the work surface to reduce it down, always keep your hands moving along the length to keep it the same diameter.

6. Once you are happy with the size you can begin slicing. It’s often a good idea to cut your cane in half so that you can reduce one half smaller than the other.

7. To slice the cane ready for applying to your beads it is best to allow the cane to cool slightly. You can speed this up by placing your cane in the fridge/freezer for a short period. The thinner the slice the better the result as the clay will spread less when being applied to your bead. As you cut each slice rotate your cane slightly to prevent distortion.

8. Make a round bead by rolling a piece of clay between the palms of your hand in a circular motion. To make sure each bead is an equal size you can roll out a larger sheet of clay and use the same size cutter for each bead or roll a log and cut equal lengths each time.

9. Now you’re ready to apply the slices to your bead, simply cover it with as many slices as you need. Press each slice very gently to make it stick. Roll in your palms until there are no more ridges along the cane edges. Allow to settle for a short time before piercing to make a hole.


10. The beads are now ready to bake, following the manufacturer's instructions!


Wednesday, 18 August 2010

Resin Tutorial: Unlock my Heart Pendant!

Hello! Today's post shows you how to make a resin pendant by embedding items! As resin supplies are one of many new products at the Bead Shop, what better time to try this new medium!

First of all, choose your mould and items that you wish to embed. Most items can be embedded within resin, however some items need a little work before they can be mixed with resin. Paper needs to be sealed with either a varnish or pva glue. To be extra safe I scan paper into my computer and then print it onto glossy photo paper. This means I can keep the orignal safe and once dry can be used without sealing! Flowers and insects need to be dried out before adding as resin will not mix with any moisture. Candy sprinkles and hundreds and thousands are really popular within resin work at the moment, and look really effective!

Make sure the room is well ventilated and that you've covered your workspace with newspaper!

Wearing rubber gloves and a face mask, make the resin following the manufacturer’s instructions. Pour the resin from as low as possible and stir slowly to minimise any bubbles!


Pour a thin layer of resin into the mould. Depending on the mould you may want to coat it with a thin layer of vaseline to act as a mould release! I find that using a plastic spoon will help ensure you don’t over fill the mould and give you more control over the resin. Leave to set for 8 hours.


When the resin has partially set, position the item you want to embed facedown, being careful not to trap air between the item and the resin.


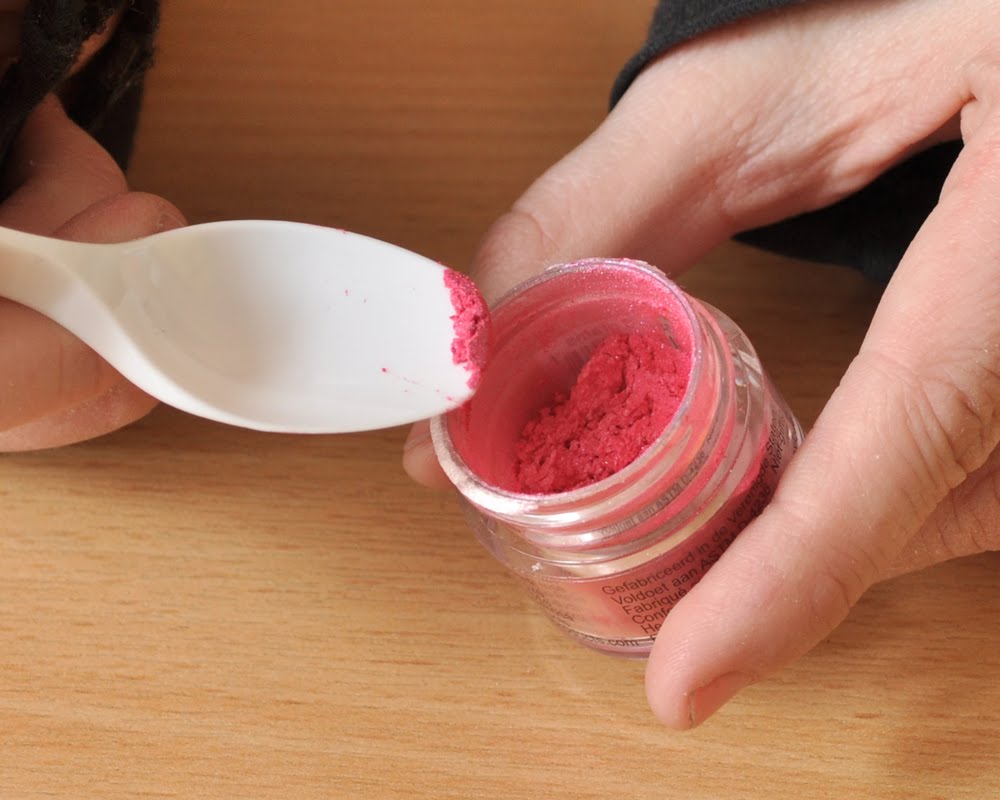
Make a second batch of resin and add a small pinch of pigment dye. More dye can be added for bolder shades. Start with a really small amount, the pigment goes far and it is much easier to add more then take away! The pigments also blend together well. I used Flamingo Pink (which is a really strong pink) and Pearl White to create this colour, so as you can see, the shades you can create are endless!


Slowly pour the mixture into the mould and leave to dry.


When fully cured, pop the resin out of the mould and sand any rough edges.


Secure the pendant in a G clamp, protecting the pendant either side with tissue. Using a hand drill, drill a hole for the bail. If you've created a shape with a domed side, like the heart, drill it flat side up to make it easier, otherwise the drill could slip and scratch the pendant!


Add a bail to the pendant and add to chain/thread/whatever takes your fancy!


And there you go! I'd love to see what you make, so if you do decide to have a go, please add your photos to our facebook page or flickr group!


Jess
xx